

March Newsletter
Last week, I gave a demonstration to my local chapter of the American Association of Woodturners on four different ways to embellish the surface of your woodturning projects without having to spend a lot on new tools. Much of this I have learned from my own experimentation and I thought it might be useful to share these techniques that I’ve developed here.
Heat gun toasting
Charring a bowl with a propane torch can give a very dramatic effect to your work with its blackened, textured and often cracked surface. Toasting a piece with a heat gun is a different, gentler option to darken the color or create gradation without dealing with the torch set-up. I first tried this method on walnut spoon handles last year with good results. Similar to charring with the torch, there is a high risk of cracking, so accept that the results might be unpredictable.
Any low cost heat gun will do. I got mine for under $20. It’s best to do this outdoors, and the basic premise is that you create a small oven out of a cardboard box or aluminum foil to concentrate the heat on the part of the woodturning to be toasted. Holding the heat gun about an inch away from the wood, turn it on high and give it about five minutes to see a color shift. The time depends on the mass of the object as the whole thing needs to heat up before toasting occurs. The end results might be a little blotchy, and can be adjusted with focused sanding.

Woodburning pen tool
A nice pyrography kit can cost over $100, but you can get a lot done with the basic pen tool for around $20.
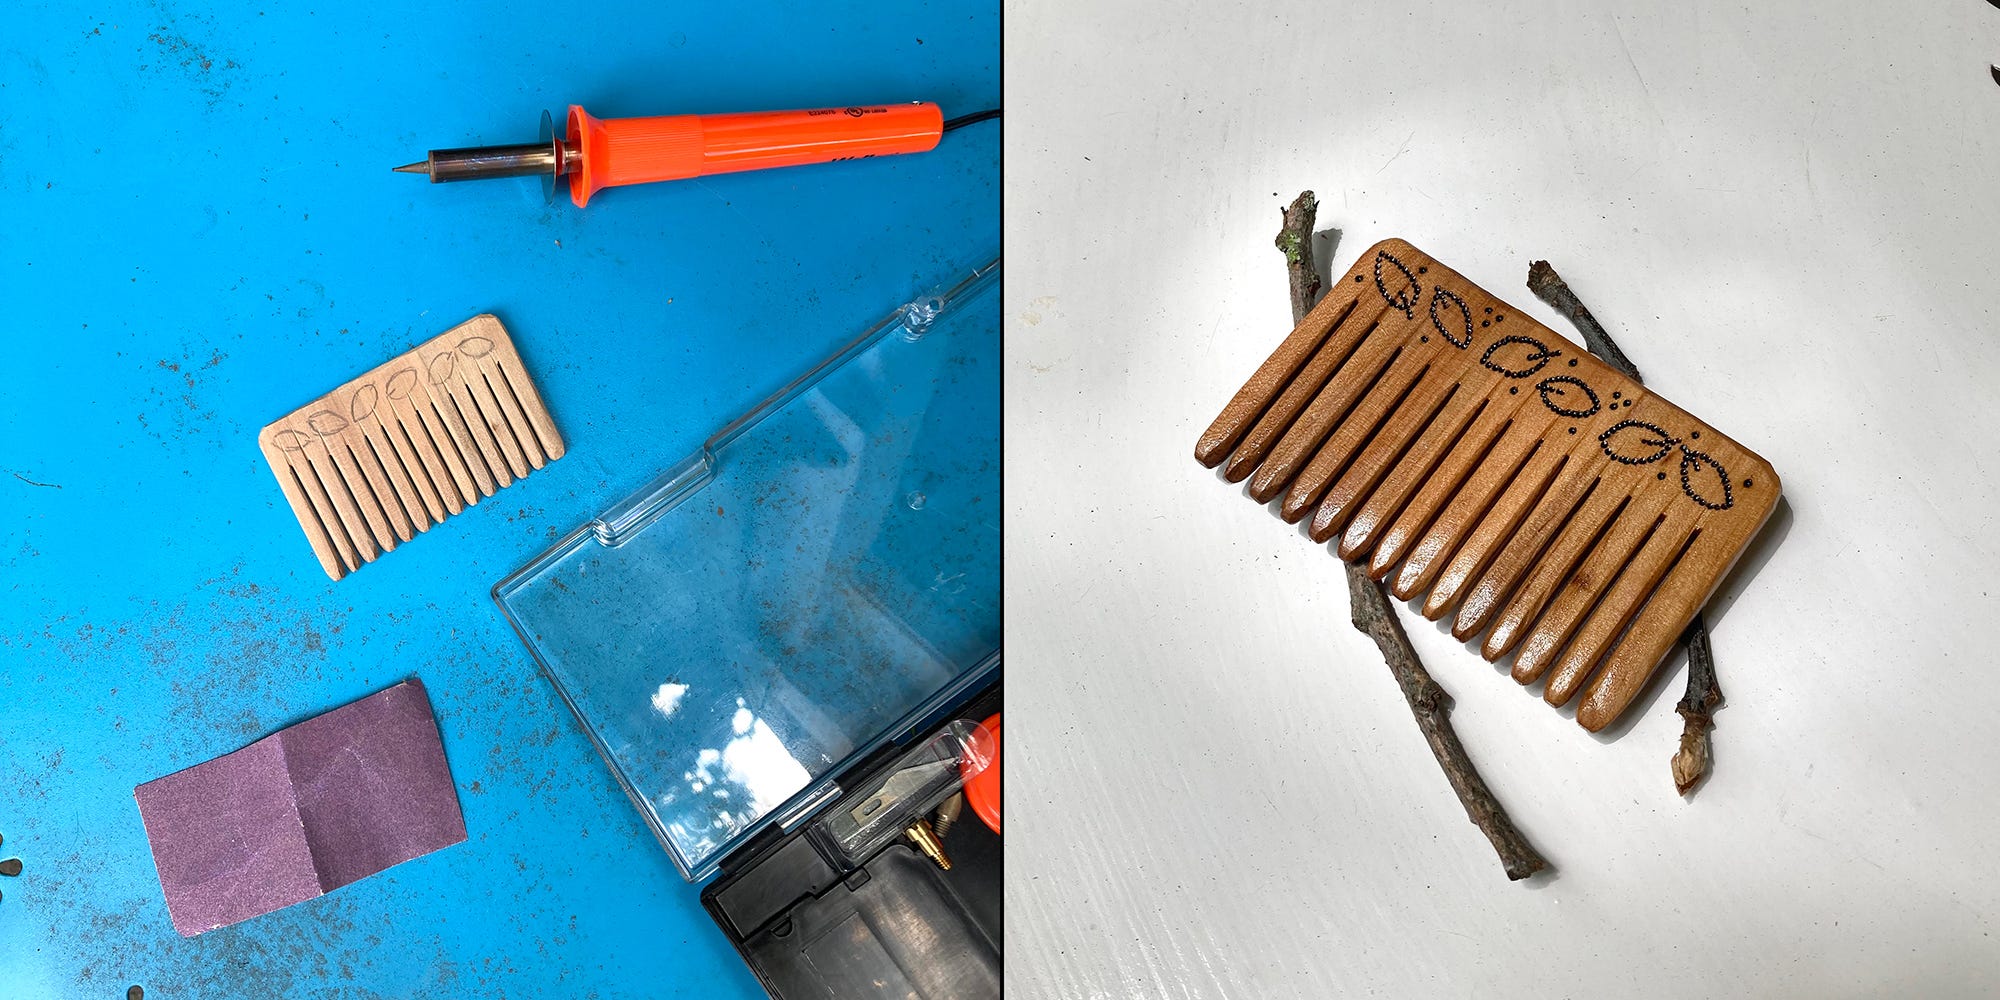
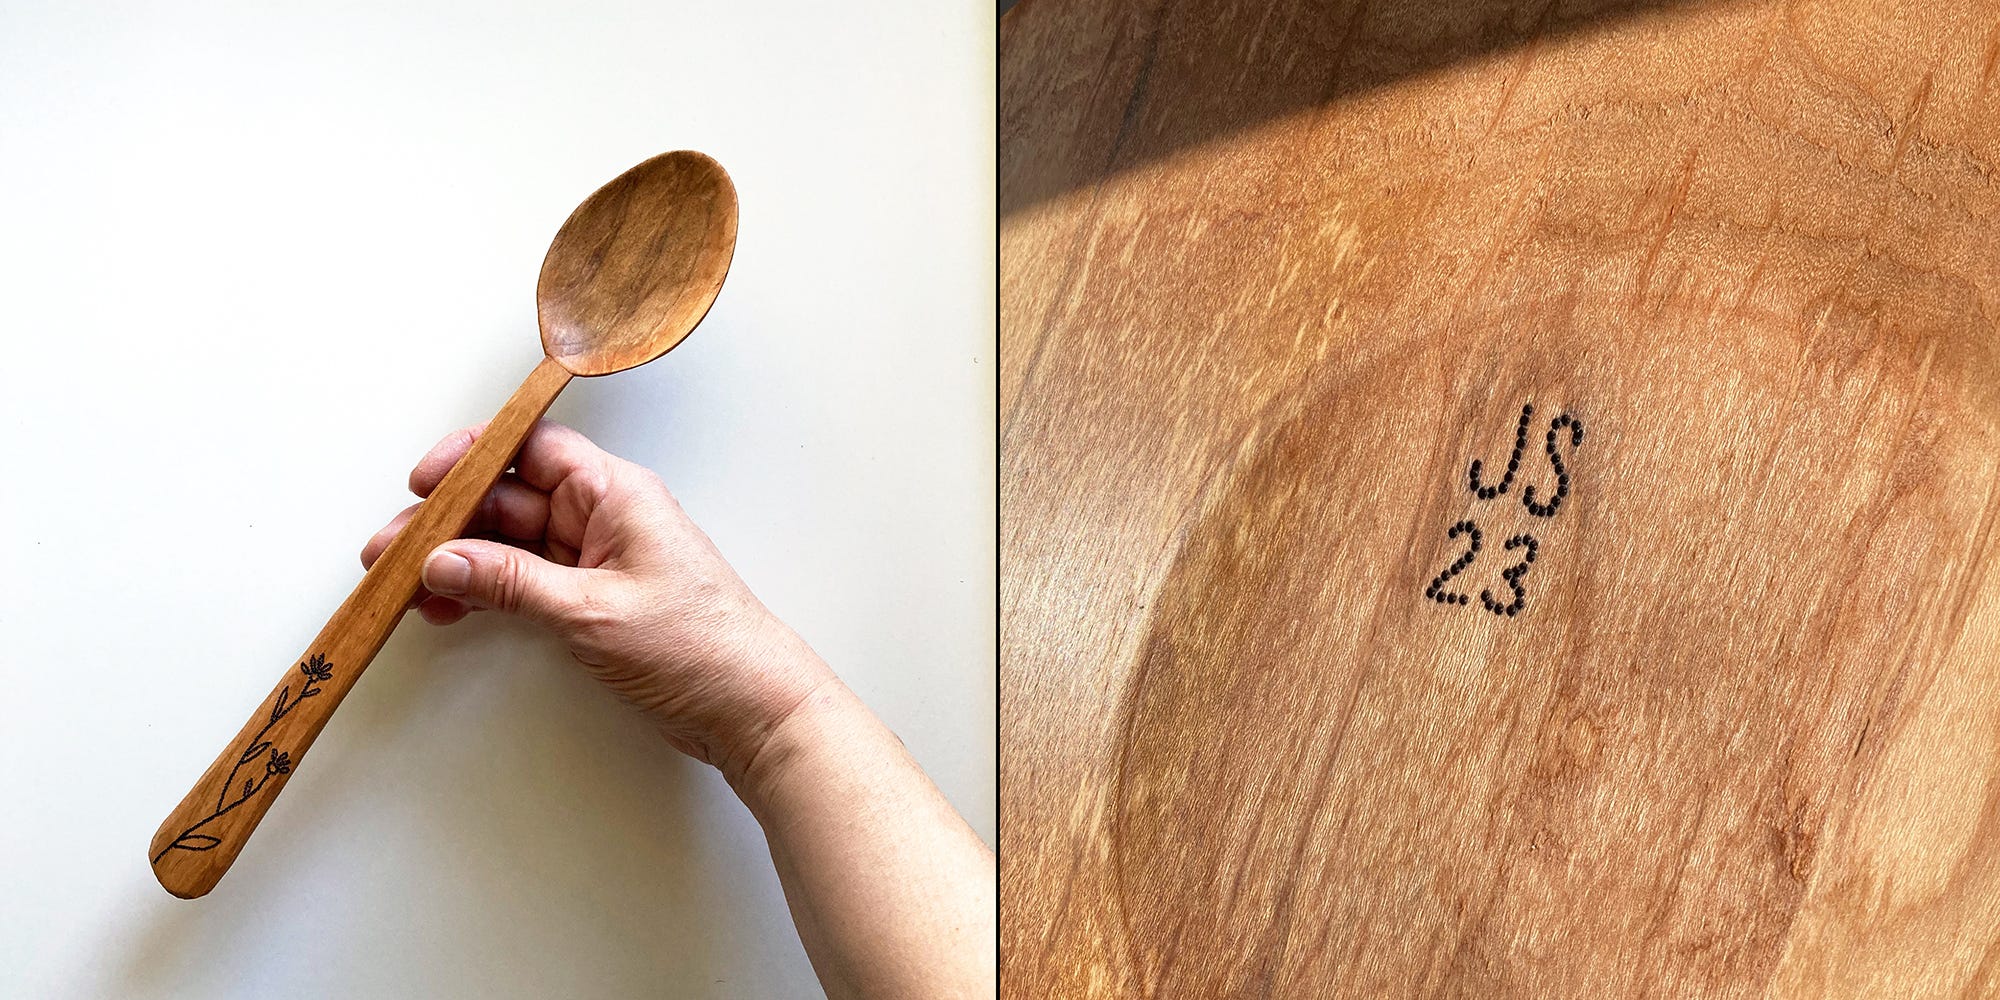
The one that I have has a few different tips, but I just use the ones that make dot or a line. This simple tool can be a good way to add a maker’s mark to your work, but I have used it to add botanical designs to pieces. I would recommend that you stick to organic designs and avoid geometric ones because it’s too difficult to render precise lines and angles with an imprecise tool.
Dye
This past year, I started working with dye on my pieces to add transparent color to the natural wood grain.
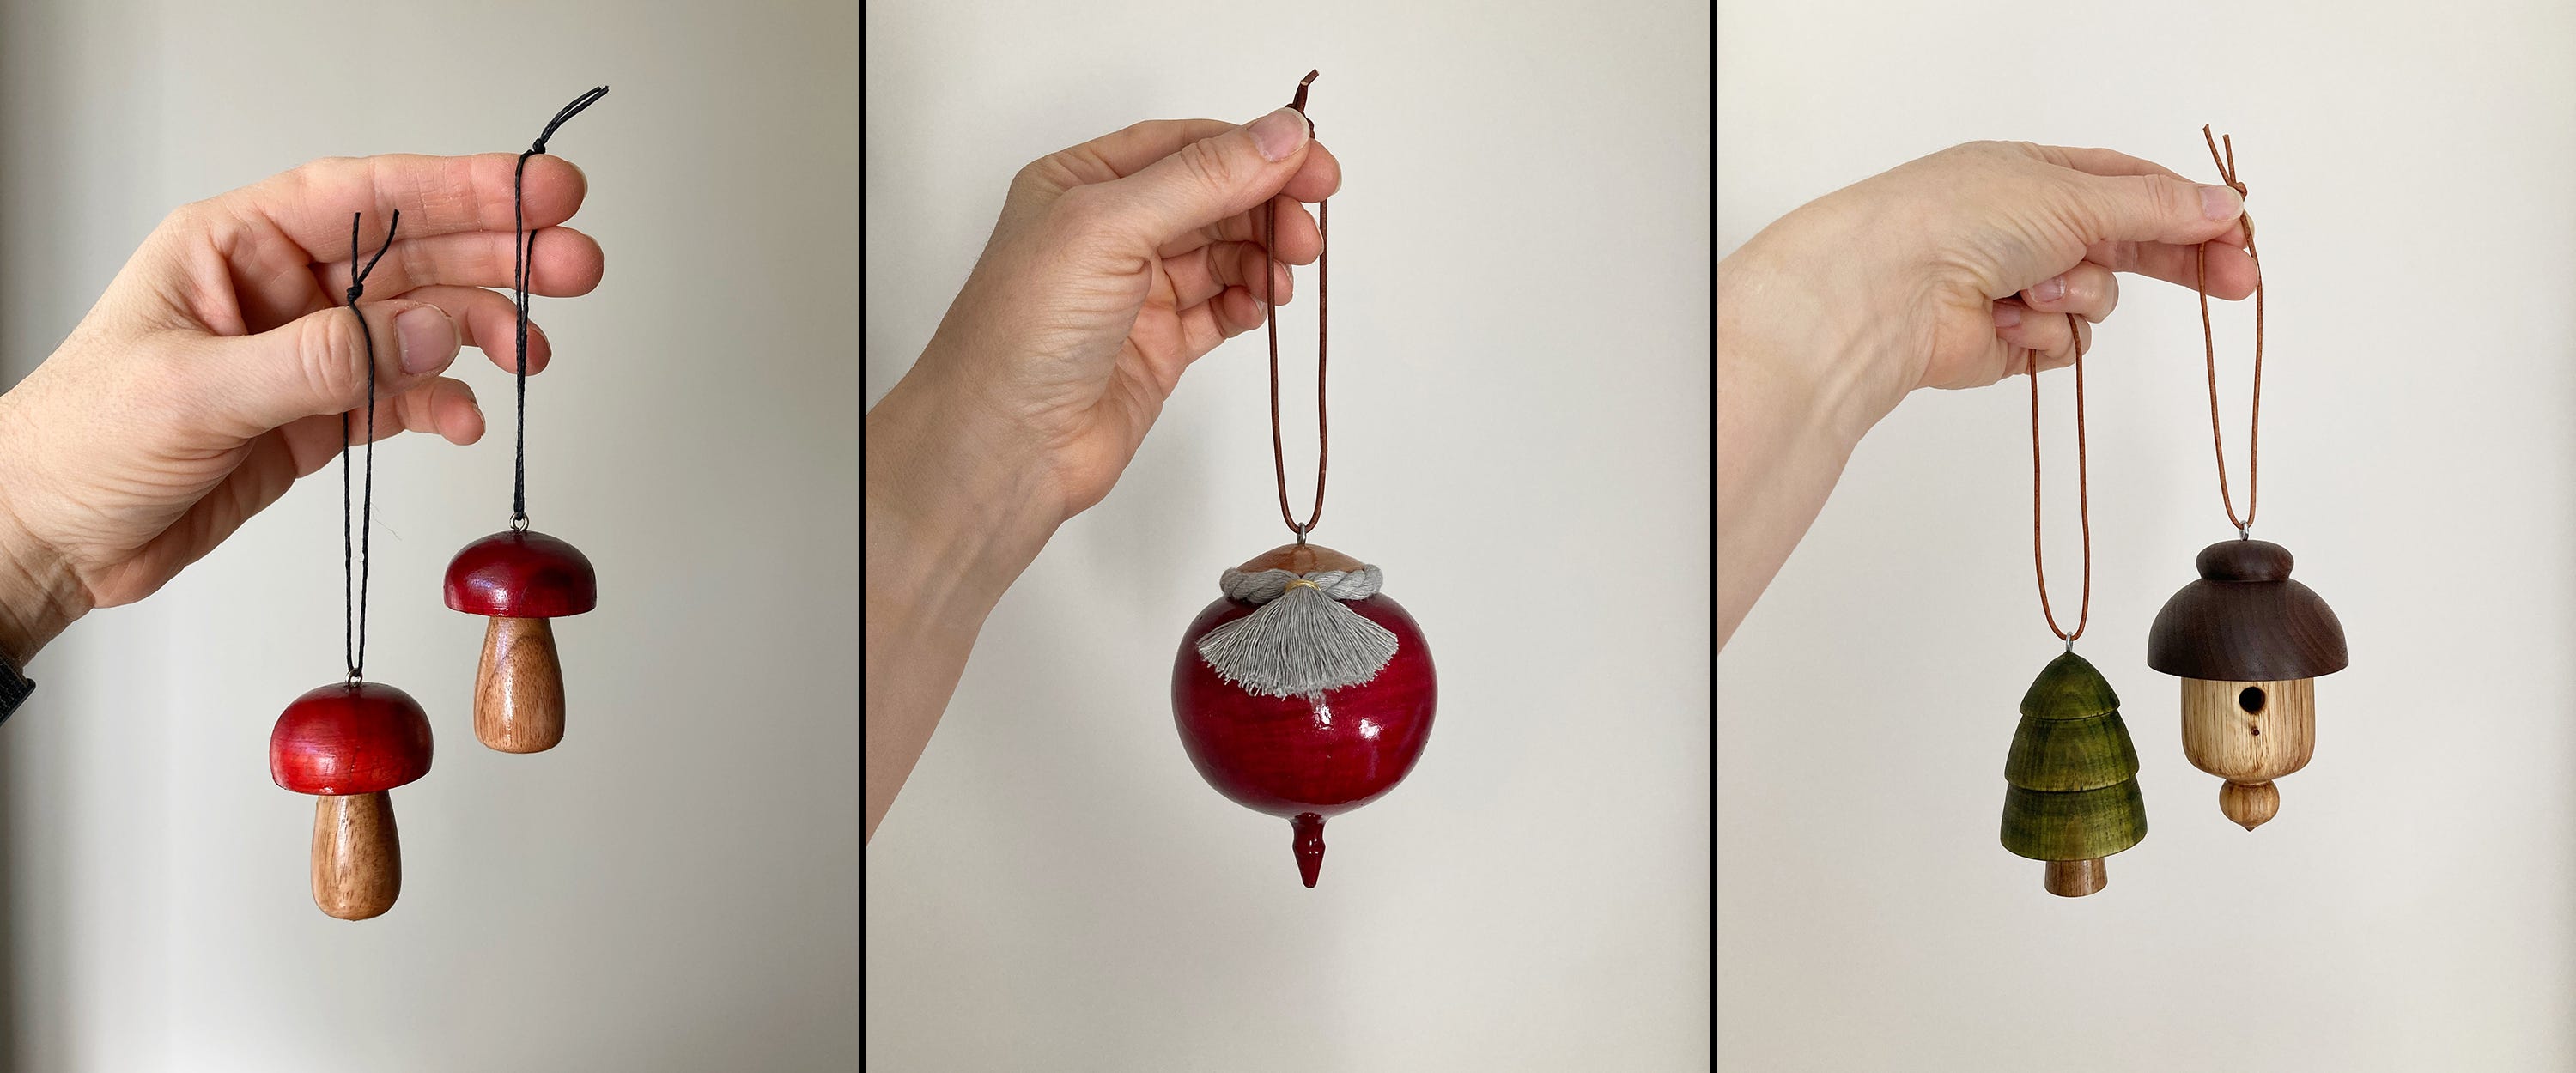
I use the powered dyes from Dharma Trading Company in the 2 oz size which I dissolved in water. Wearing gloves, I just dab it on to selected areas. This is how I made mushrooms and pine tree ornaments. The colors can be mixed to create new tints and shades. When applying the dry powder to damp wood, the component colors register a tie-dye effect for added variation.

Finishing with a hard glossy finish seals the dye in place and makes the colors vibrant.

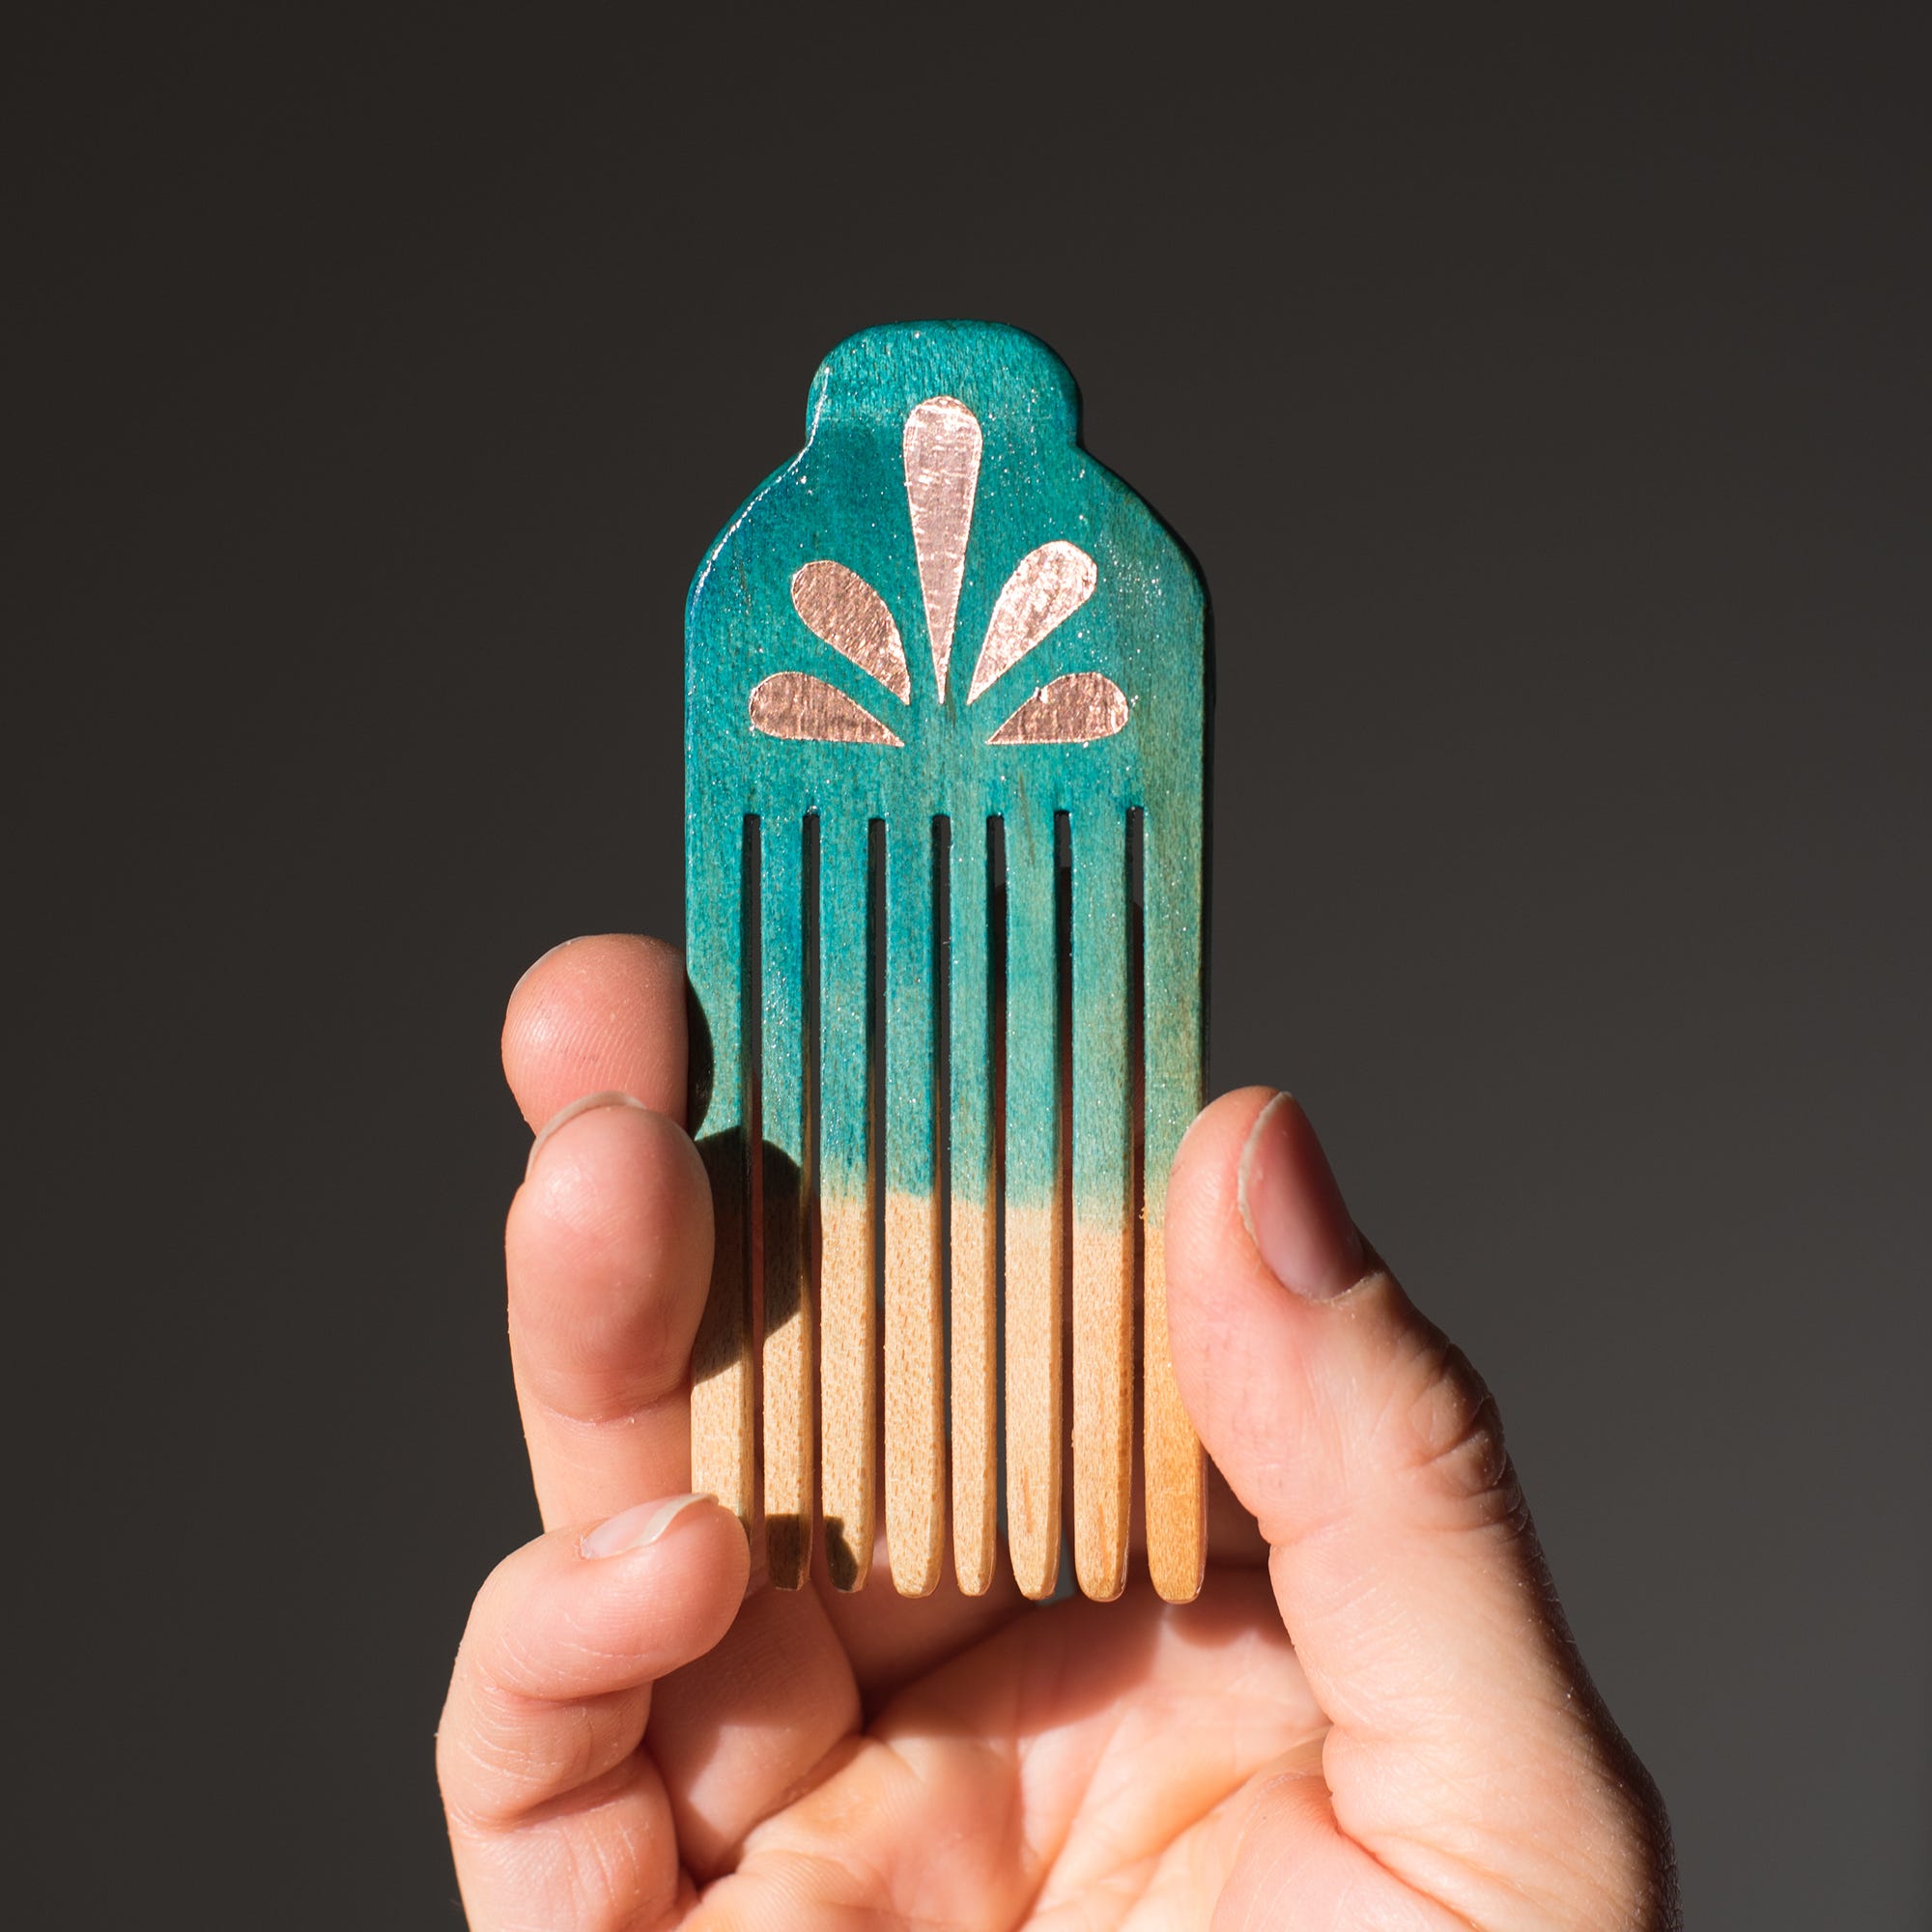
Copper Tape
Very thin copper foil with an adhesive back is sold in rolls of varying widths for use in circuits, crafts, or as a slug repellant in the garden. When used on dark colored woods, it adds a bright contrasting element. On spinning tops, it will appear to flash as it spins. I cut out asymmetrical tear drops that I then arrange in larger designs. It’s very fiddly work and time consuming to get get them all placed right.

Again, organic designs are easier to achieve than precise geometric ones. One thing to keep in mind with this tape is that it has no elasticity to it at all and will wrinkle over complex curves. For this reason, I use groups of short length pieces to achieve a larger design. As with the dyed pieces, I seal the finished designs under a hard finish that holds them in place and prevents tarnish.
Experimenting with new ways to embellish my woodwork is one of my favorite things to do. I enjoy the surprise of what wood can become. It’s also a way for me to save a piece that didn’t turn out as interesting as I had hoped into something entirely new. Since I enjoy a wide variety of techniques, working with lower cost options is a way for me to limit my investment while affirming that I don’t need to use the most expensive high-end tools to create interesting and beautiful woodwork.
This newsletter is free of charge, but if you would like to donate to support my writing and woodworking, you are welcome to do so. Paid subscribers can message me directly and I will send you more detailed notes and instructions on the above techniques.